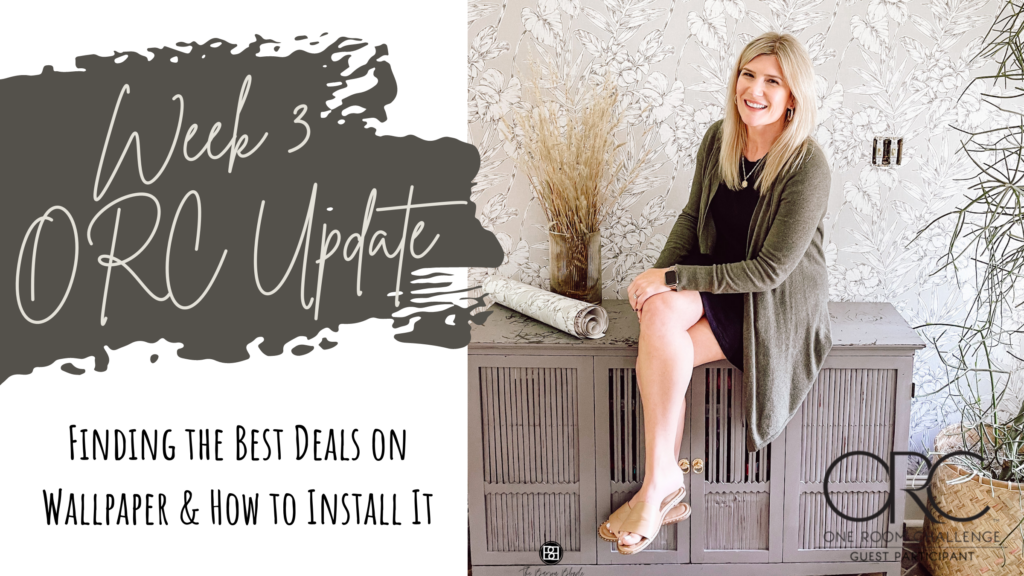
The wallpaper is up, and it’s lovely! I’d never installed wallpaper before, and I definitely learned a lot.
Last week I shared about the prep work involved and the two tutorials I used. You can read more about that here. For more info about the One Room Challenge and my design board, click here. This week, I installed the wallpaper and ordered the light fixture.
After finishing this step, I think I would definitely hang wallpaper again, but I recommend getting help if it’s a 12 foot tall ceiling!
Finding the Best Deals on Wallpaper
TIP #1// Shop Around
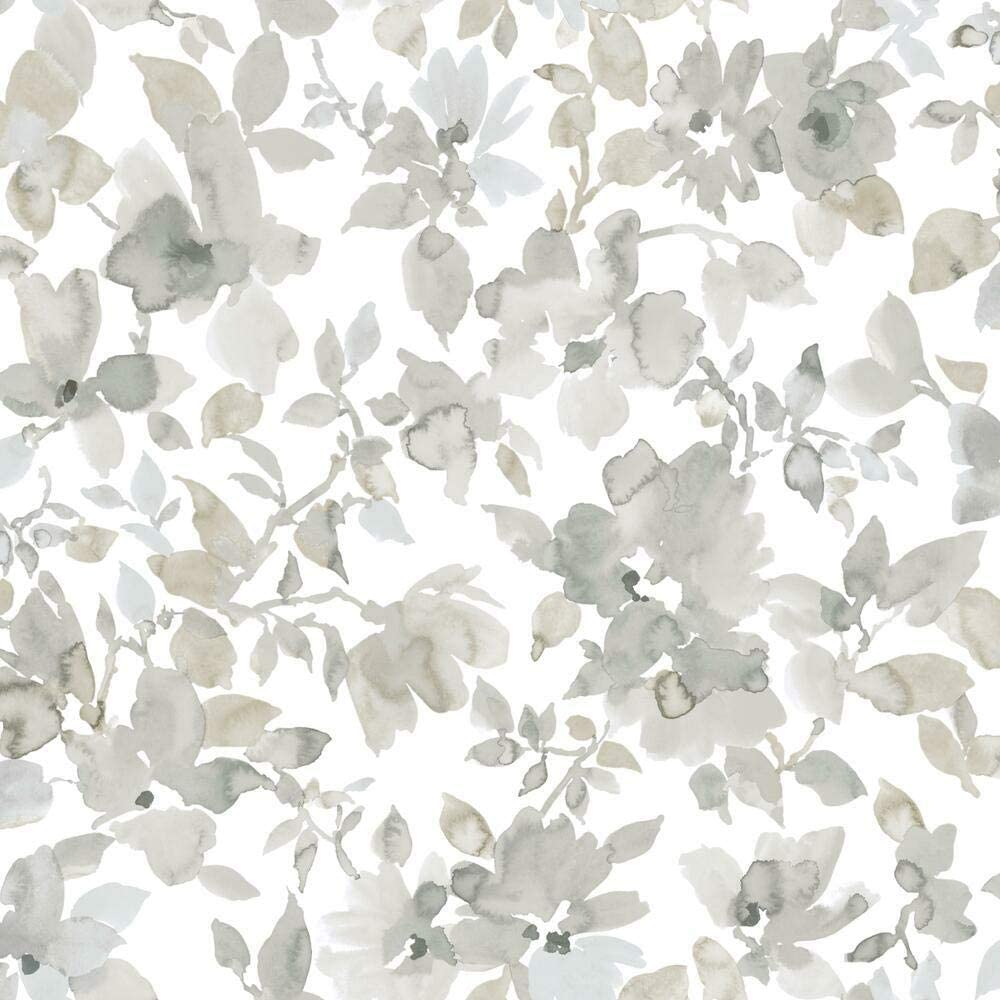
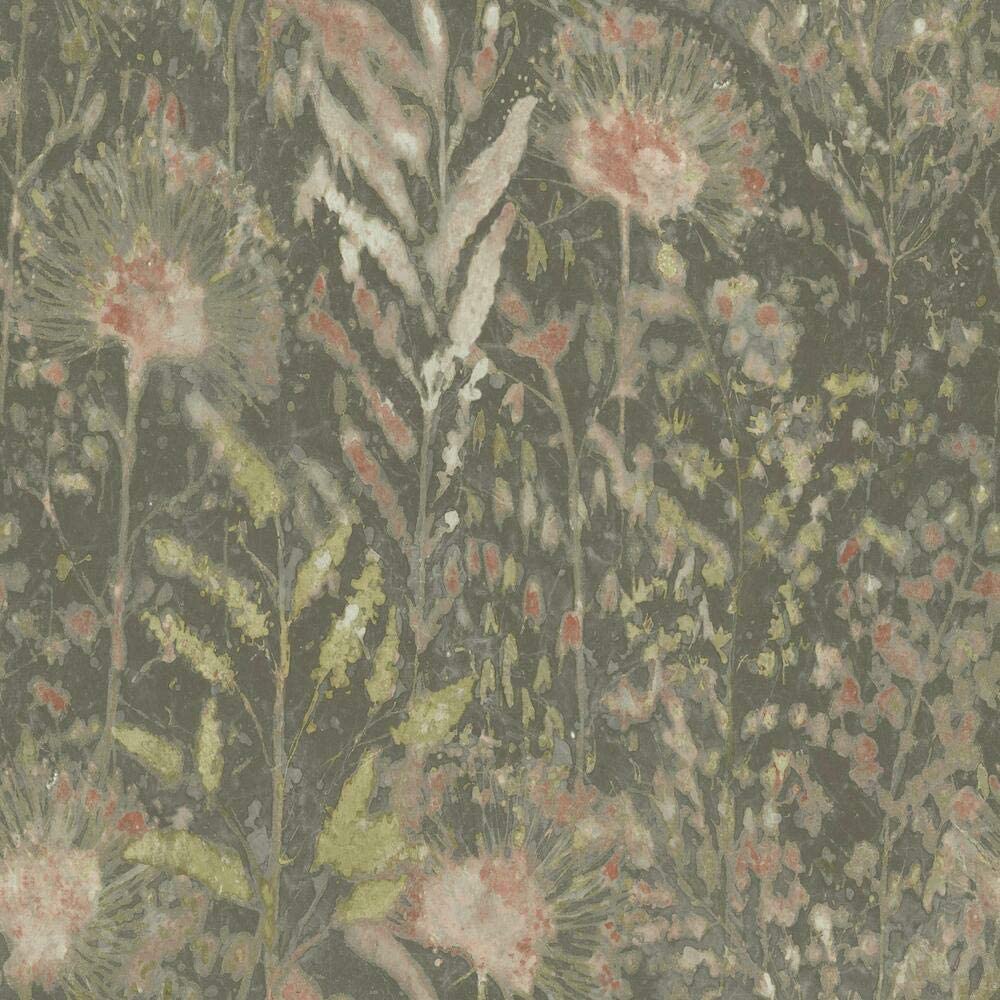
My top tip for scoring a great deal on wallpaper is to check Amazon. I first saw my wallpaper on the Anthropologie website for $140 per roll. I needed two rolls. I searched for the wallpaper name on Amazon, and found it for $80 per roll — nearly half the price! Here is a link to the wallpaper I used. It comes in and out of stock, but you might get lucky and find it. FYI, it’s an unpasted paper.
When buying wallpaper, keep in mind that papers with a larger pattern and repeat will have more waste than smaller patterns.
Anthropologie, Serena & Lily, and Lulu & Georgia are great places to find wallpaper inspiration, but their products cost a premium. Sometimes, you can find the exact paper on Amazon for half the price! You can also find some good deals on Wayfair.
Note, I’ve used affiliate links in this post. If you choose to buy something with one of these links, I may get a small commission, which will go toward providing you with more fun content. Thanks for your support!
TIP #2// Search Favorite Manufacturers
Search the wallpaper manufacturers pages on Amazon. For example, my paper was made by A Street Prints. Look at manufacturers like York Wallcoverings, A Street Prints, Tempaper, Graham & Brown, and Chesapeake.
TIP #3// Let Me Do the Digging for You
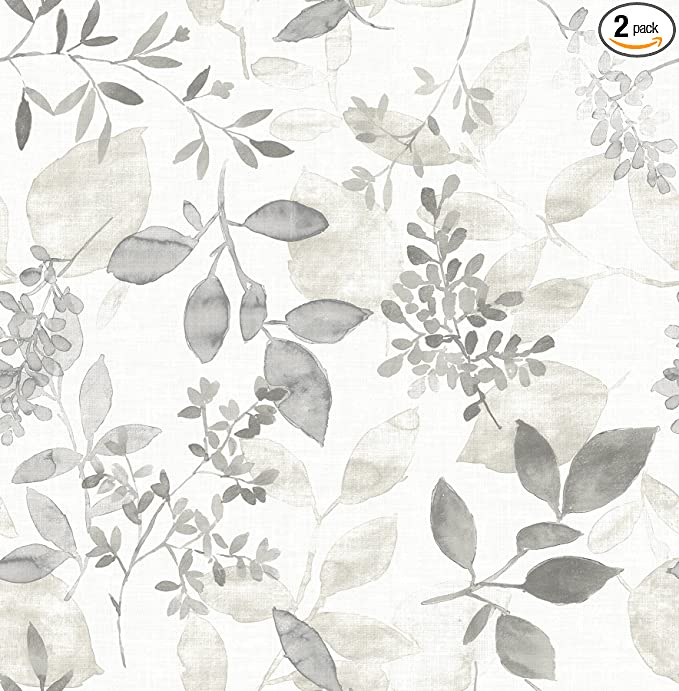
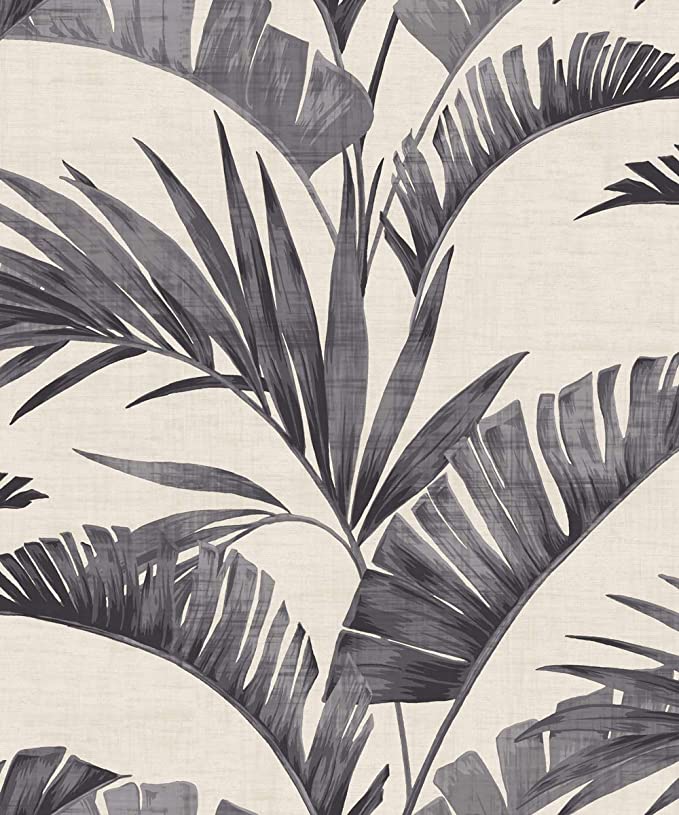
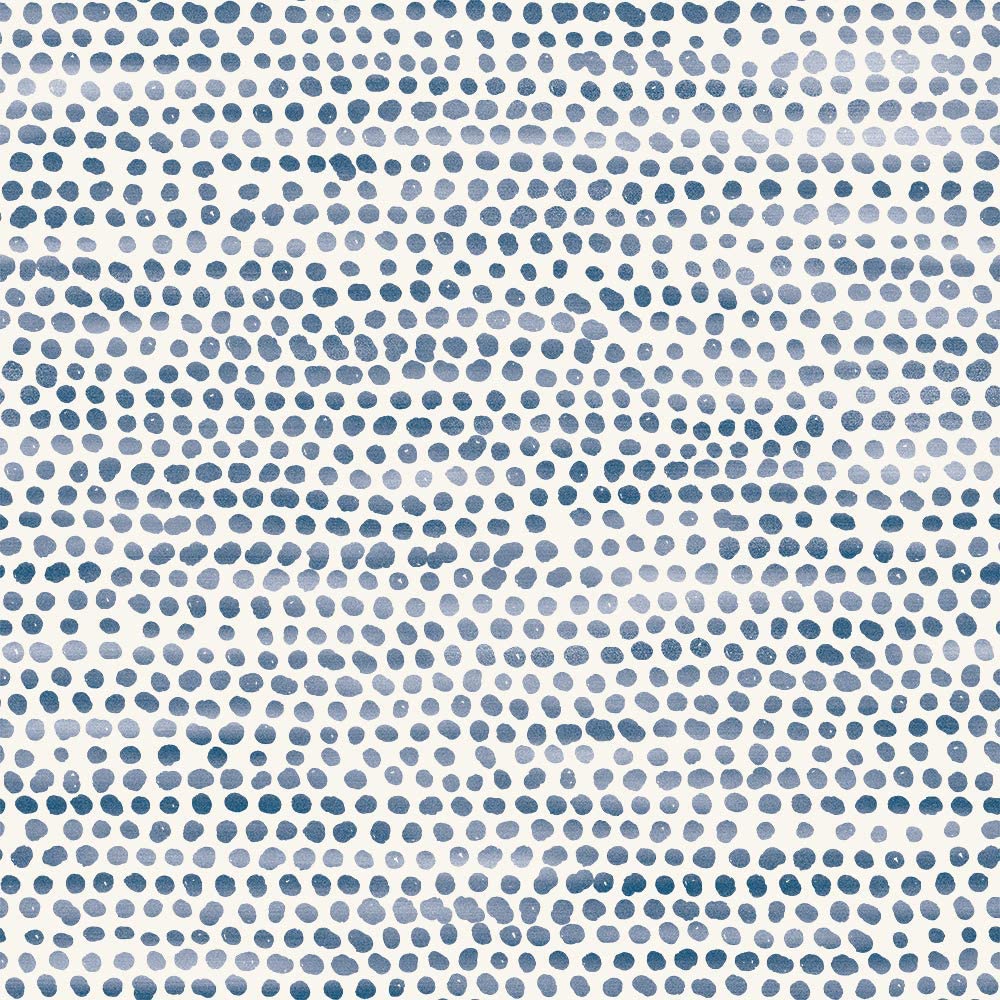
I did a little bit of the research for you and found a few good options. Below I’ve linked some Amazon wallpapers I like. Click on ony of the images below to shop.

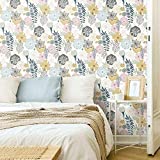
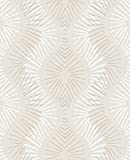

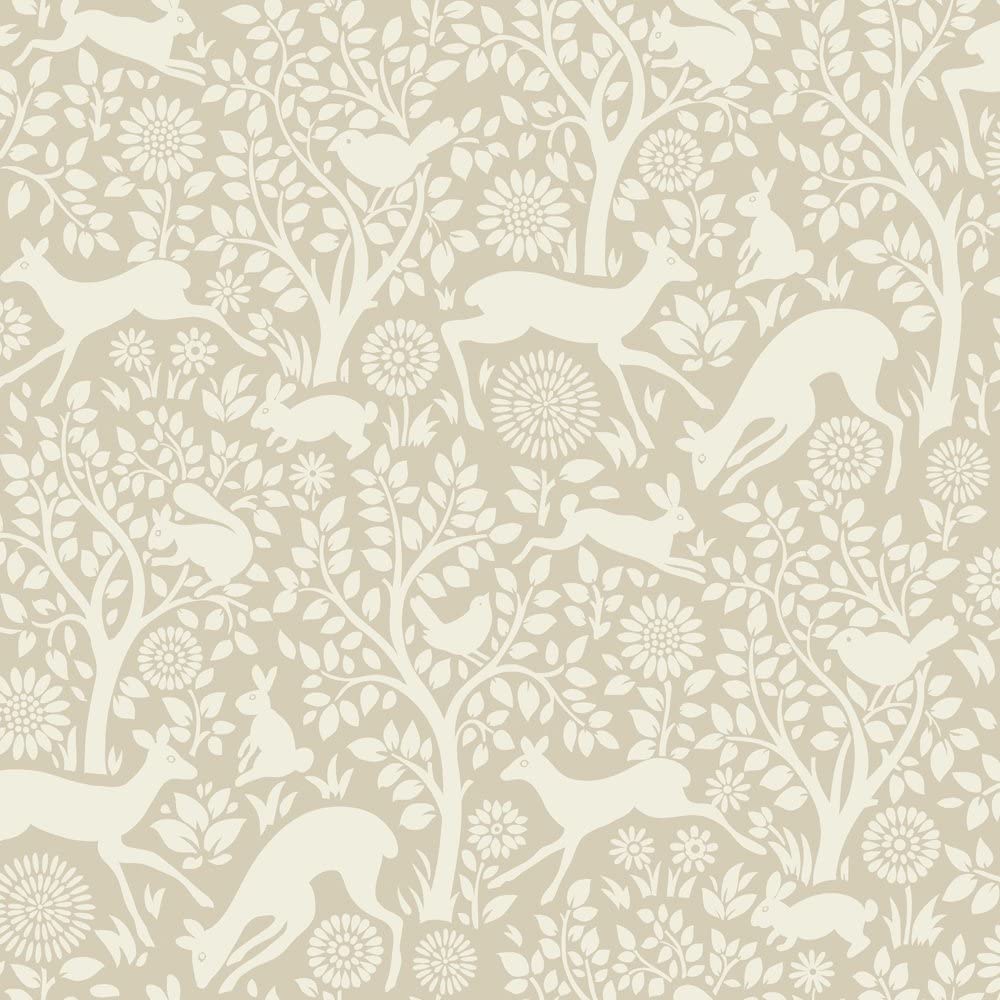
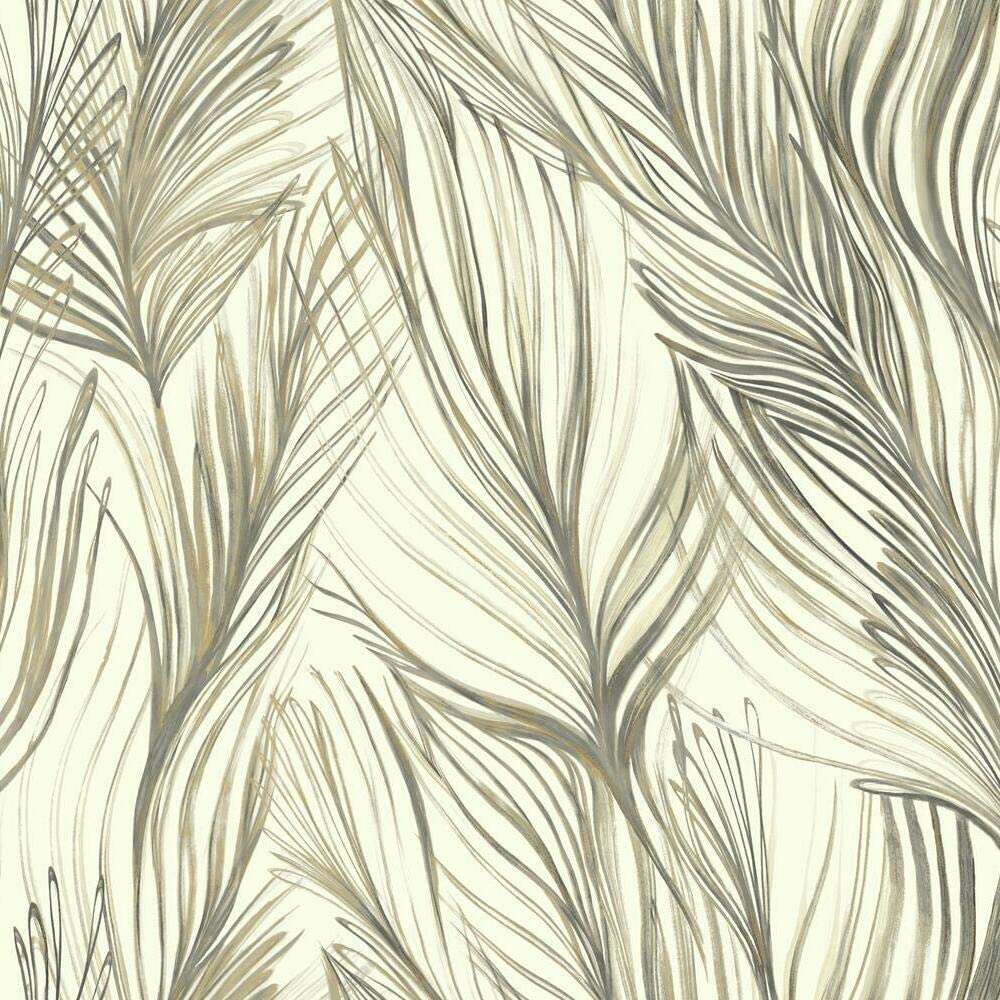
Want to see more options, check out my Wallpaper board on Pinterest.
How to Install Wallpaper
- The first step is to prepare your drywall, making sure it is smooth and has a good coat of primer. (see previous ORC post for details)
Gather all of the materials you need: Wallpaper paste, roller and cover, paintbrush, paint tray, wallpaper smoother, natural sea sponge, bucket with water, seam roller, level, very sharp knife (with extra blades), long ruler or drywall tool, measuring tape, and a pencil. - Once you’re ready to begin, The first thing to do is double-check your measurements. Take into account the pattern repeat. Measure the width of the panels. Check to see how many panels you’ll need. Next, figure out how long they will be, and see where the repeat will happen. Make sure to add about three-four inches to the top and bottom, so you have space to trim the paper.
- Measure again. I’m serious here! You want to make sure you have enough paper, and that you don’t make any mistakes cutting your panels.
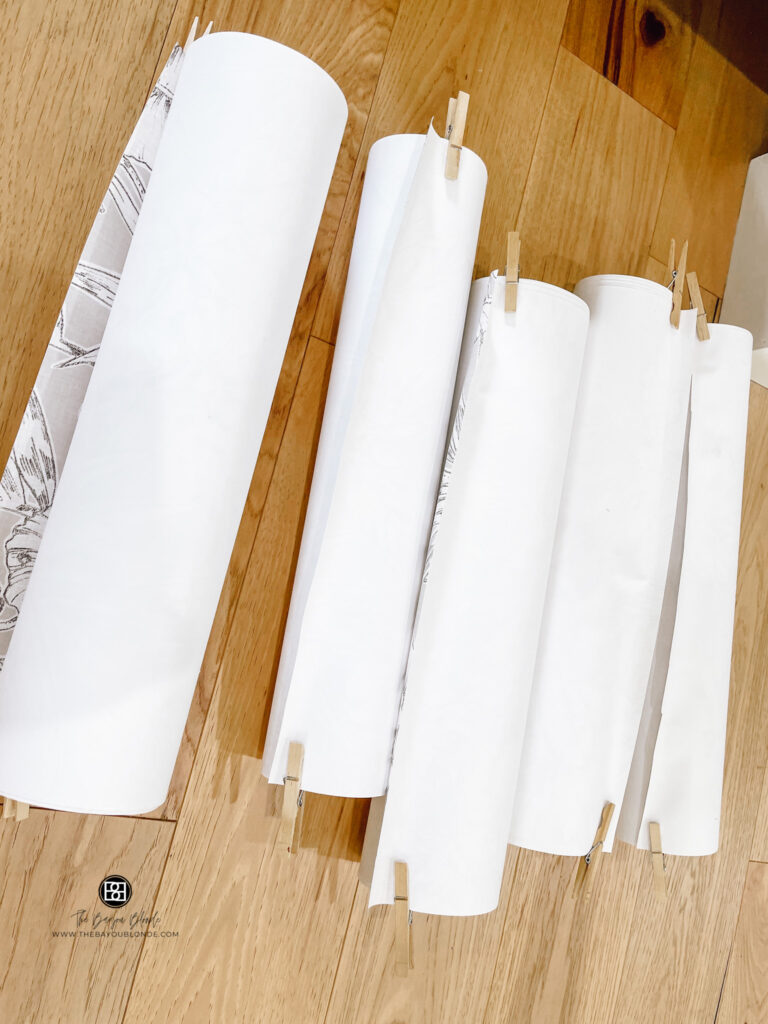
- Cut the panels and line them up before they go on the wall. Roll them inside out and secure with clothespins until you’re ready to use them. (see picture below)
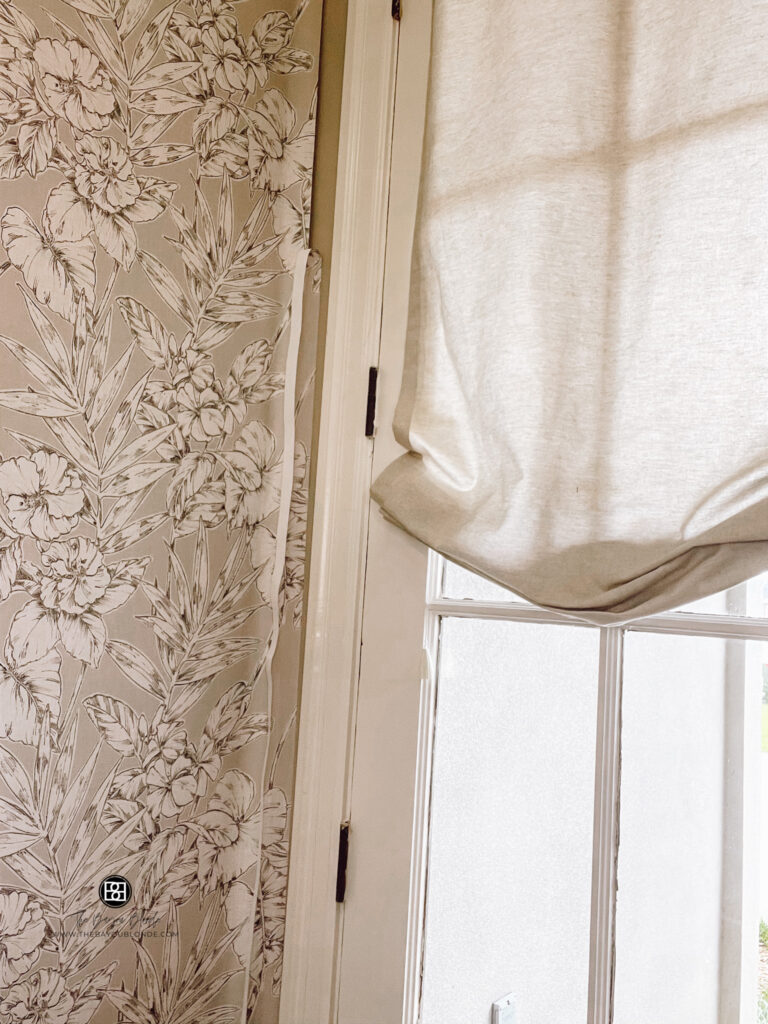
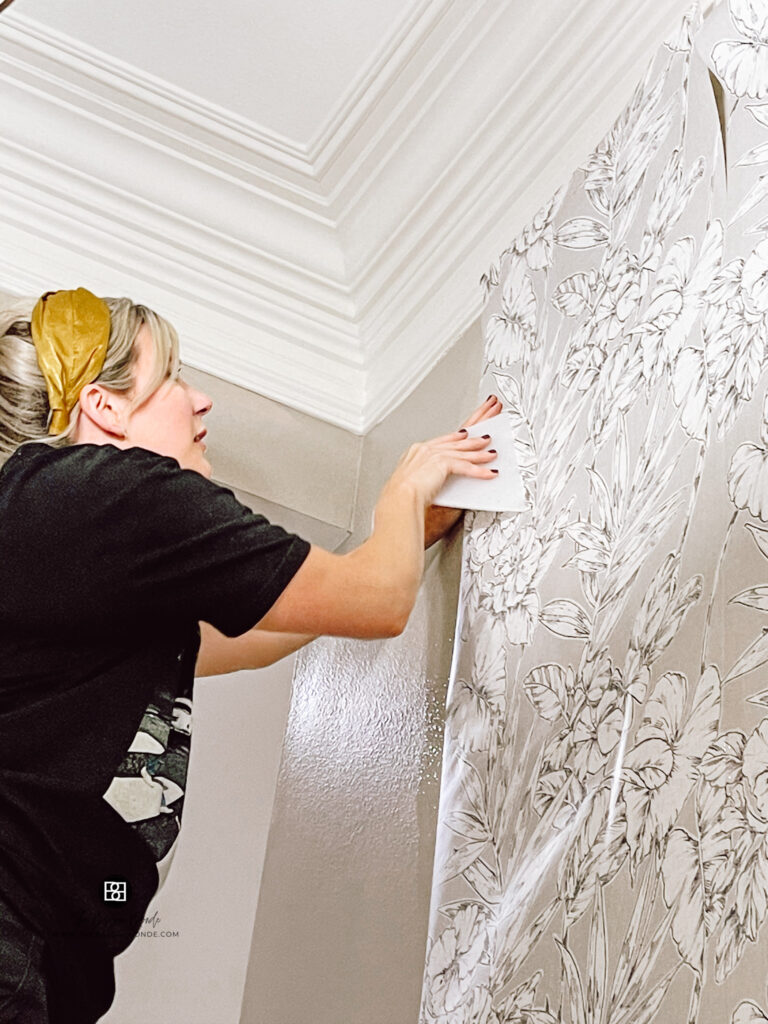
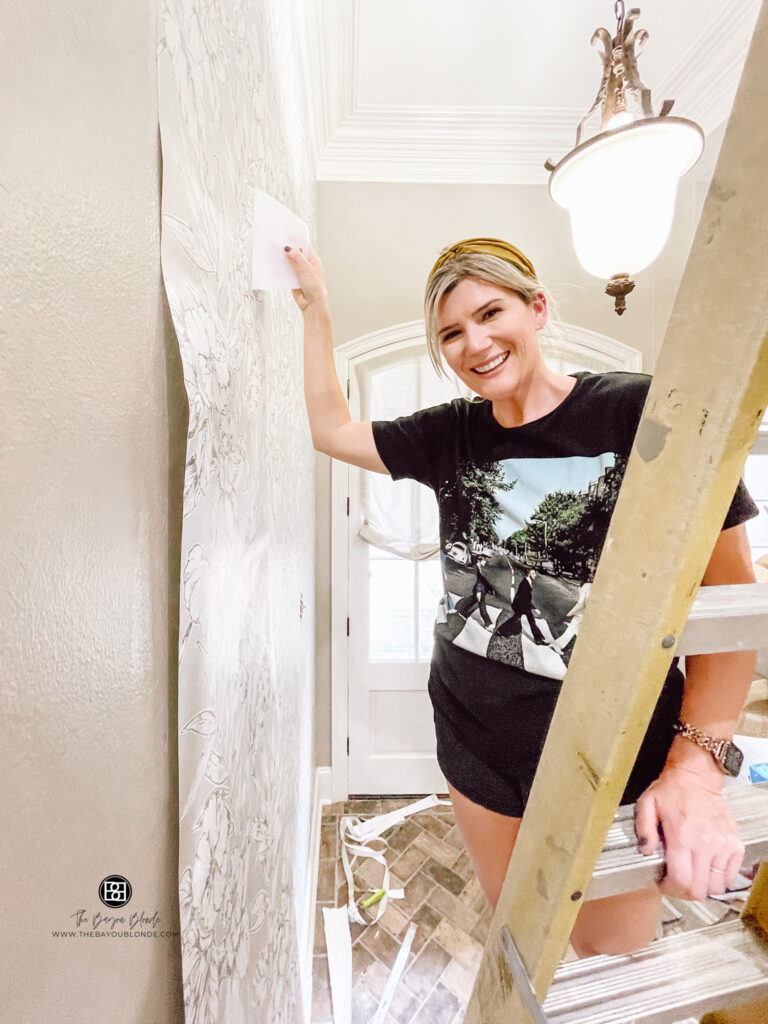
- Figure out the placement of your first panel. I chose the corner closest to the door, since it’s the least visible. I added an inch of overlap, so I could cut the paper into the corner. Your walls won’t be straight, so this isn’t a good guide for your first piece. Draw a completely straight, level line where you want your panel to line up with the others. (see the photo of how this works below)
- Apply a thick layer of paste to the top third of the wall, stopping short of the top and the corner. You’ll apply paste to that part later. Line up the wallpaper with your level line. Once you have the top in place, smooth the paper carefully with the wallpaper tool. Make sure to push out any air bubbles or excess glue to the edges. Continue working down the wall until you get to the bottom. Don’t glue all the way to the crown molding or baseboard. (see photo)
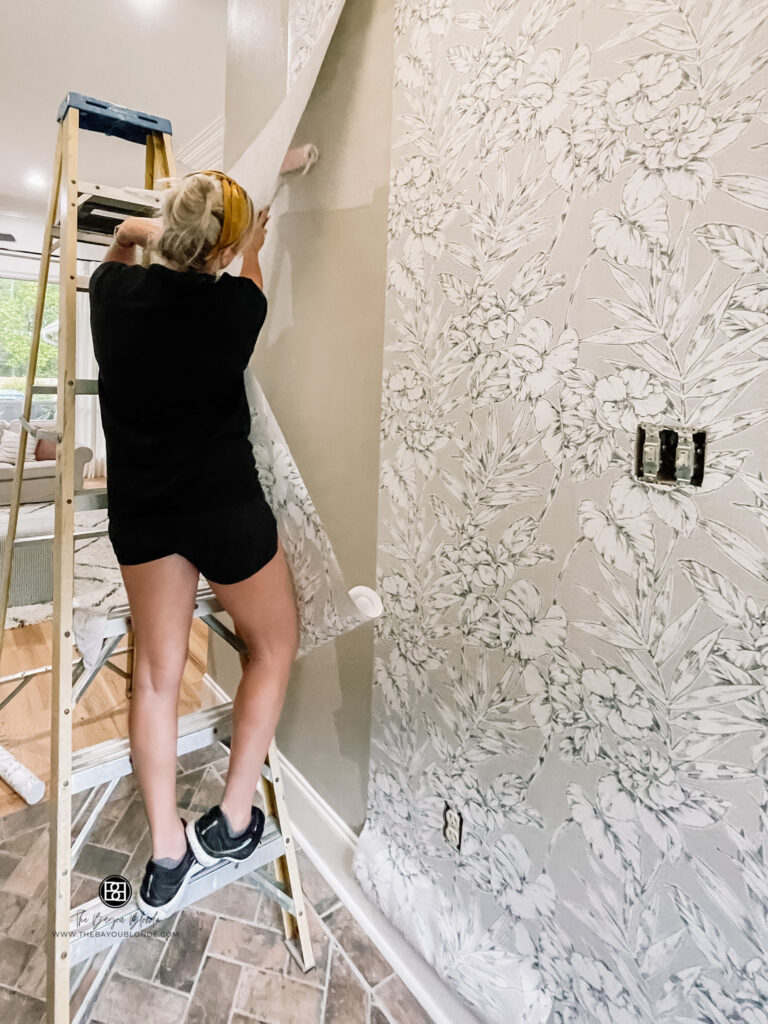
- Do the same with the next panel, but use your seam as the level line. Line up the pattern exactly. I did not overlap my wallpaper, rather I pushed each panel against the other exactly. Use the wallpaper tool to finely tune the position of the paper. Don’t be afraid to pull it off and start again if it’s not straight.
- Once you have a couple of panels up, go back and finish the seams and edges. Use the knife and metal ruler (or sheetrock tool) to get a clean cut along the baseboard and in the corners. Then, apply a thick layer of paste with a paintbrush. Use the smoother tool to push the excess glue toward the edges. Wipe any excess glue from the paper and baseboards with a damp natural sponge.
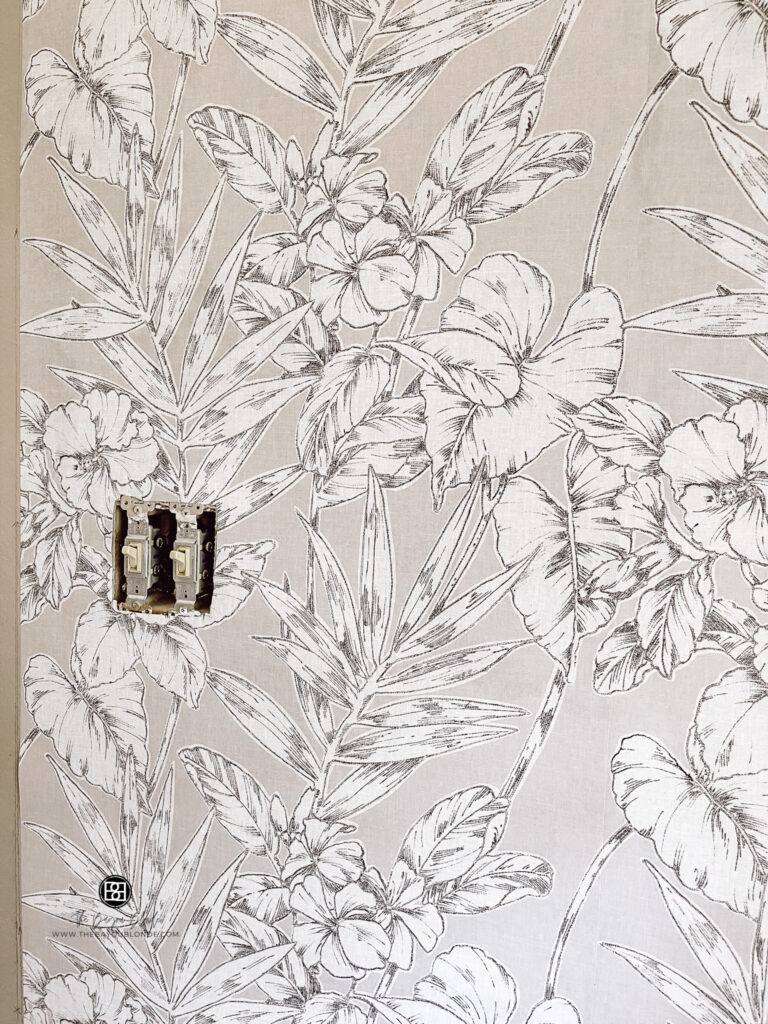
- Use the knife to cut out around light switches, outlets, and other architectural elements using the same process as above. It’s much easier to cut the paper dry, so make the cuts before applying paste. The wet paper is more likely to tear. Go over clean seams with the seam roller. (see picture below)
- Move slowly and be as neat as possible. Remember that no one will notice the tiny imperfections when you finish — I hope!
Here are a few pics I took during the process, but feel free to post a comment or reach out on social media if you have a question.
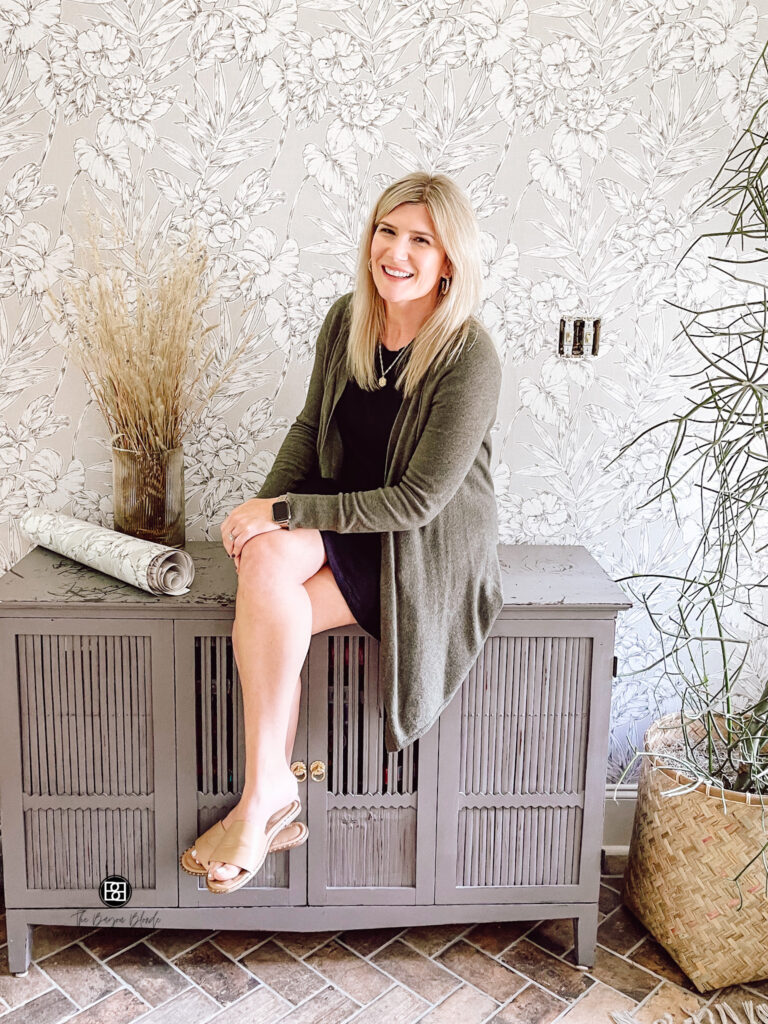
That’s all for this week! The next step in this project is to refinish this little buffet and install the new light switch and outlet. If you’d like to follow along with all of the participants, you can click on the logo below.


I’ll be back next week to give more updates. Thanks for stopping by my today. If you want to stay in touch, subscribe to receive posts by email. You can also follow me on Instagram or Facebook.

Leave a Reply