When we bought our first home, I had no idea how to go about decorating it. I painted a couple of rooms, added throw pillows, and scoured antique stores for inexpensive pieces. I managed to cobble together an assortment of items, including hand-me-downs, furniture we accumulated through college, and inexpensive finds from Kirkland’s or Pier One. It didn’t look bad, but I found myself perpetually decorating and dissatisfied. It was never quite “right.” I didn’t really love it. One day, I thought, I’ll get to decorate an entire room at a time.
Fast forward 15+ years, and this veteran homeowner was still looking for a cute throw pillow every few months.
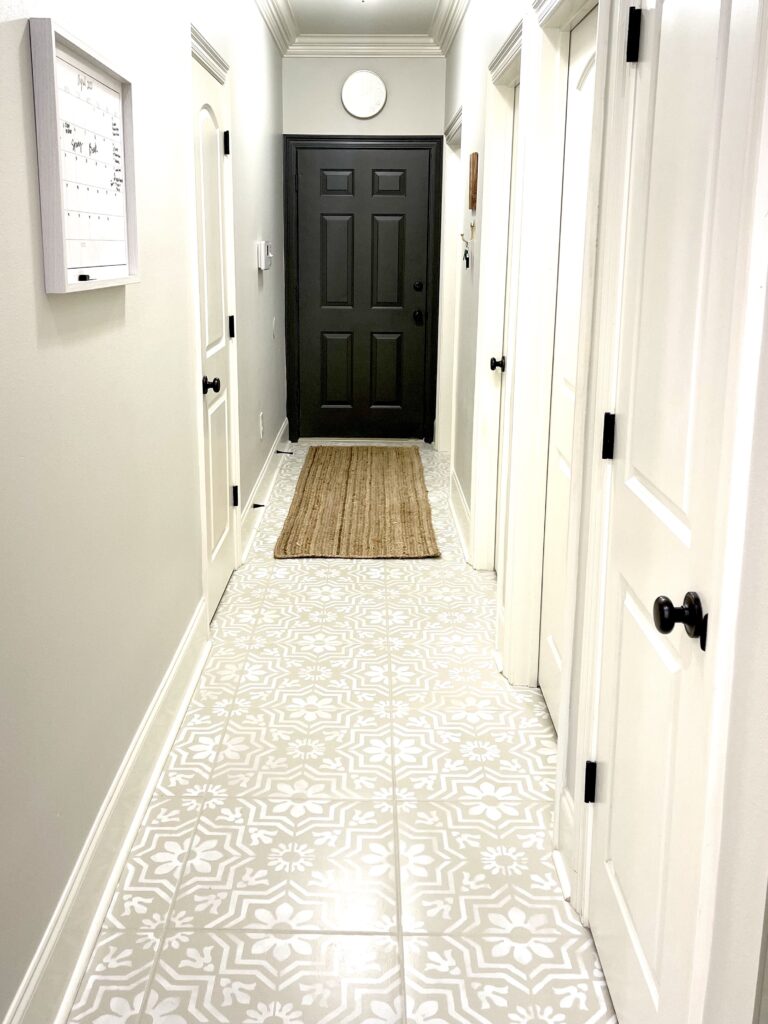
That changed when I did a One Room Challenge this spring. I took eight weeks to complete a room from start to finish. Each week had a blog post and a deadline for submissions. I didn’t make a 100%, but I did finish the project on time. I really LOVED the result. It was my first “finished” space.
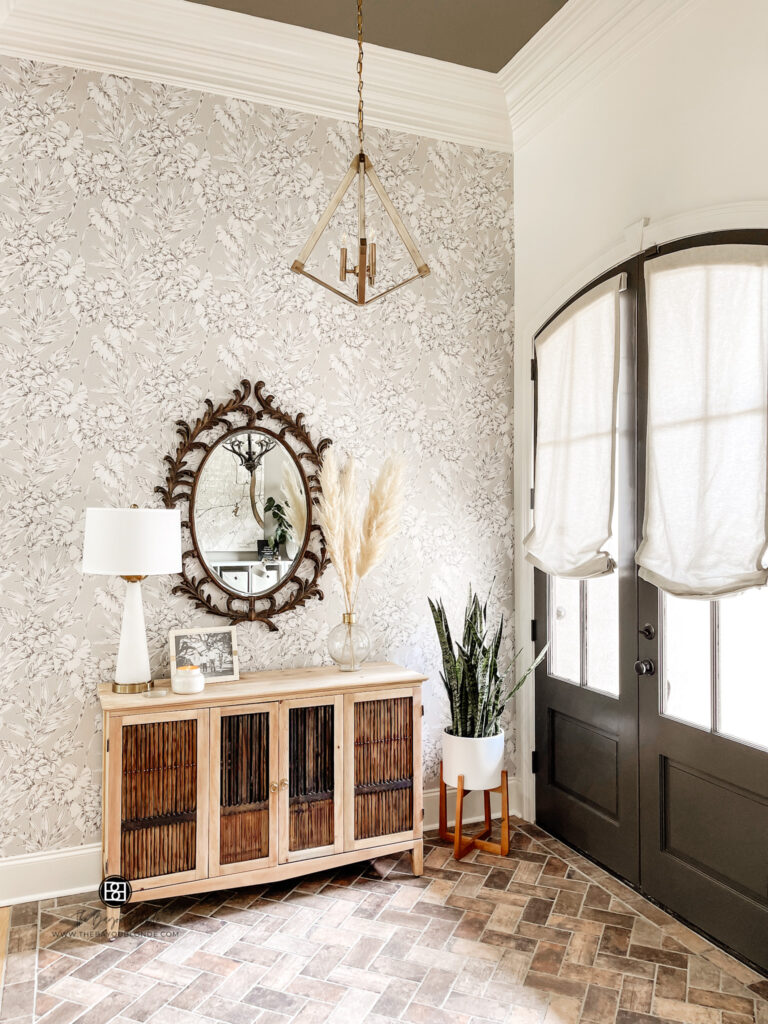
If you’d like to read more about my foyer and The One Room Challenge, click here.
Then, this summer, I tackled my master bedroom closet. It took MUCH longer than expected, mostly due to the start of school and a major hurricane. However, it is FINISHED. Completely done. That makes two rooms in just a few months.

In the past, I would have told you that finishing projects isn’t really my thing, but if I can do it, you can too. Here is what I’ve learned so far about how to plan and *COMPLETE* a home project. So, grab a notebook and pen, and let’s get started.
1. Consider the Room’s Function and Who Will Use It.
As much as I love a pretty room, my home has to work for the people who live here. For me that includes three rowdy kids with muddy shoes and messy hands. It’s also helpful to think through what works in the room now, and what you might need to make it more functional. Do you need organization or storage? What kind of seating or workspace is best? Daydream for a few minutes about how it might work best for you. This should take a few minutes. Don’t get stuck. Set a timer if you need to!

2. Find Inspiration & Choose a Color Scheme
This is the most fun step, in my opinion at least. However, be careful because you can also get stuck here! Pinterest can easily become a productivity-draining rabbit hole. So many times I’ve started looking for inspiration pics, only to end up on a post about DIY flower arranging an hour later!

Give yourself a time limit and a goal.
For example: I’m going to spend 40 minutes and find 5 inspiration pictures for my office. By doing this you will stay focused on your task and actually produce something to move your project along.
Don’t limit yourself to rooms.
Pin color schemes, floral arrangements, sunsets, or whatever inspires you. All of these will give your room a direction and make the nexts steps easier.
Choosing a Color Palette
If color isn’t your thing, look online for color palettes that are already done for you. There are so many out there. A big part to making your color palette work in the room is to repeat the color in multiple places. Another popular option is to mix a variety of neutrals and incorporate texture, rather than color, to create interest.
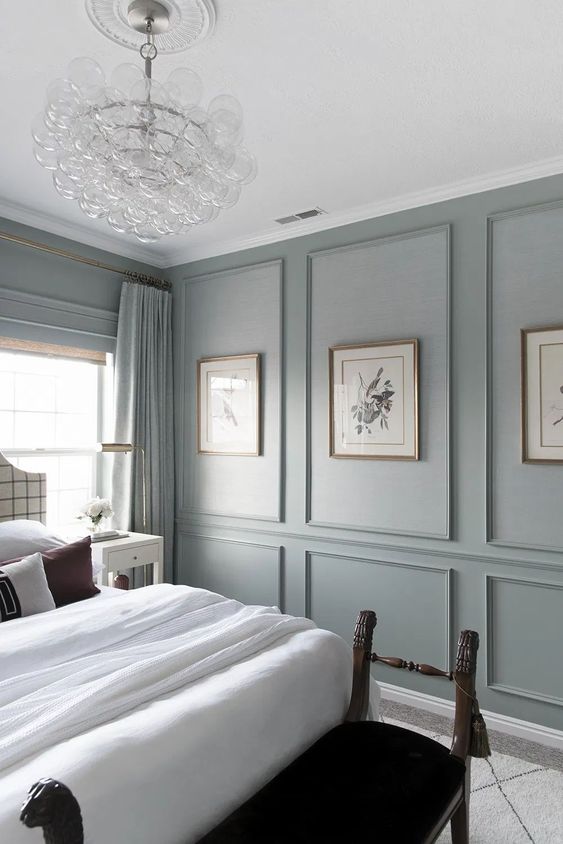
Whatever you choose, establishing this early will guide your purchases going forward. A good rule of thumb for choosing a room’s color palette is 60-30-10. 60% of the room should be the main color, 30% should be a secondary color, and the last 10% should be an accent.
The Color Palette Rule of Thumb: 60% of the room should be the main color, 30% should be a secondary color, and the last 10% should be an accent.
3. Look for Items to Repurpose or DIY
Even rooms with huge budgets can benefit from a little ingenuity. Think about items you already own or could refinish or repaint to work in the new space. Another option is to purchase things from second-hand stores or Facebook Marketplace. Not only are these items budget-savers, but they also add personality and originality to a room.
Make a List of Everything You’ll Need
Create a quick list of everything you can think of to go in the room. Include paint, materials, furniture, fixtures, accessories, etc. Now, look at that list and brainstorm things you already own, could DIY, or purchase second-hand.
Avoid creating a room that looks like it was purchased at one time. Instead, aim to create a room that evolved over time. Think of items that you can add to give the room more character, helping it better reflect the people who live there.
4. Find a “WOW” Moment
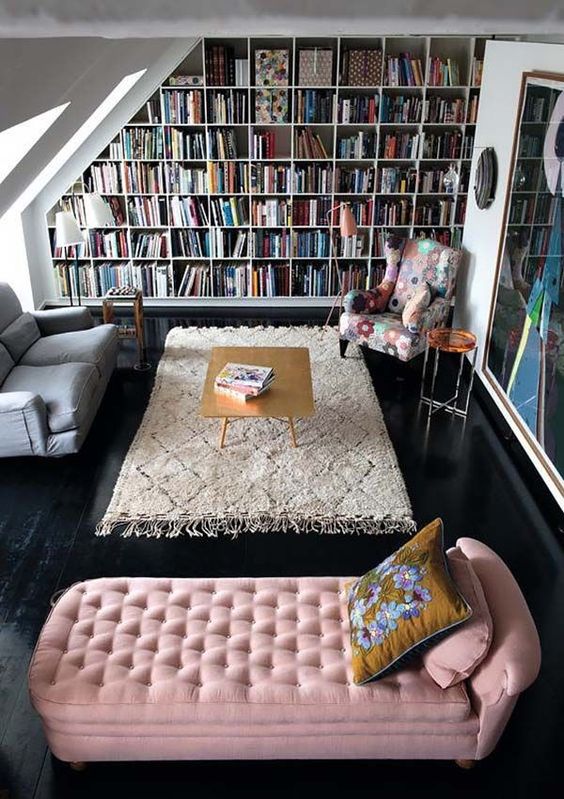
You could also call this a focal point. Decide what element, view, or feature is most important. It could be a gorgeous light fixture, the perfect wallpaper, a colorful rug or piece of art, etc. By deciding this in advance, you will better be able to do the next step. Also, keep in mind that the “WOW” could be a DIY project. It doesn’t have to be expensive.
5. Decide on a Budget & Timeline
This is so important because having a budget and timeline will really keep your project on track. It may be that your timeline dictates your budget, or vice-versa.
Budgeting Tips
It’s true that decorating takes money, and I have experienced the frustration of not having much of it. You can still make it better! Look for things at yard sales, thrift stores, or the dollar store. Reach out to friends on Facebook or family members. I’ve even been known to grab a table, chair, or even an old drawer off the side of the road. (True story– It made the cutest book holder, in my daughter’s nursery when she was little, after it had been given new life with a coat of cheap craft paint!)
Don’t Avoid the Issue
The budget and timeline are valuable tools. Be realistic about them from the jump. For example: If you know that the baby is due in February, the nursery needs to be finished mid-January. That might limit your design decisions. In the same way, if you really want to keep the total cost to about $1,500, an $800 light fixture is out of the question. If the budget is $500. You can work with that, but it may take longer to track down items and complete more DIY projects.
For larger projects, you may also want to allocate extra funds for unexpected costs. Don’t forget about taxes, and delivery fees.
Setting an Attainable Timeline
Setting the timeline of your project can be hard, especially when you’re just starting out. You might not know how long something will take. My advice: Use your best judgement. Just do it. Write it down.
Maybe painting the room takes longer than expected, or you encounter shipping delays that set you back. However, just setting the goal gives you something to work toward. You will be so much more motivated to stay on track. It also gives you a realistic idea of what to expect. Once I started planning my timeline for the One Room Challenge, I realized that even small projects take time. I had to set realistic goals for each week and set aside time to work on them.
If you’re hiring people to complete some of the work, you may need to wait until they are available to start. Now is also the time to think about shipping times. The lead time on furniture can be months. Knowing this ahead of time allows you to make decisions early in the process, rather than when it’s time for the installation, pushing your finish date back.
The steps above may seem obvious, but once you start in a project, it’s easy to forget these “simple” things.

Thought about Limitations
There have been times that I’ve considered limitations to be a negative thing. For example, having orange-colored cabinets can limit color choices, or a small budget doesn’t give the option to purchase designer items. Instead of seeing those limitations as negatives, try to see them as opportunities to let your creativity shine.
Remember: Necessity is the mother of invention. Get those creative juices flowing, and come up with an innovative solution. Don’t let limitations stop you from creating a home you love. It’s not about creating a perfect home, but a home that serves you and your family well.
I hope you are having a wonderful week and that this information is helpful to you. Thanks for stopping by today.

Never miss a post! Subscribe to receive posts delivered right to your inbox. Stay in touch by following me on Instagram and Facebook.

Leave a Reply