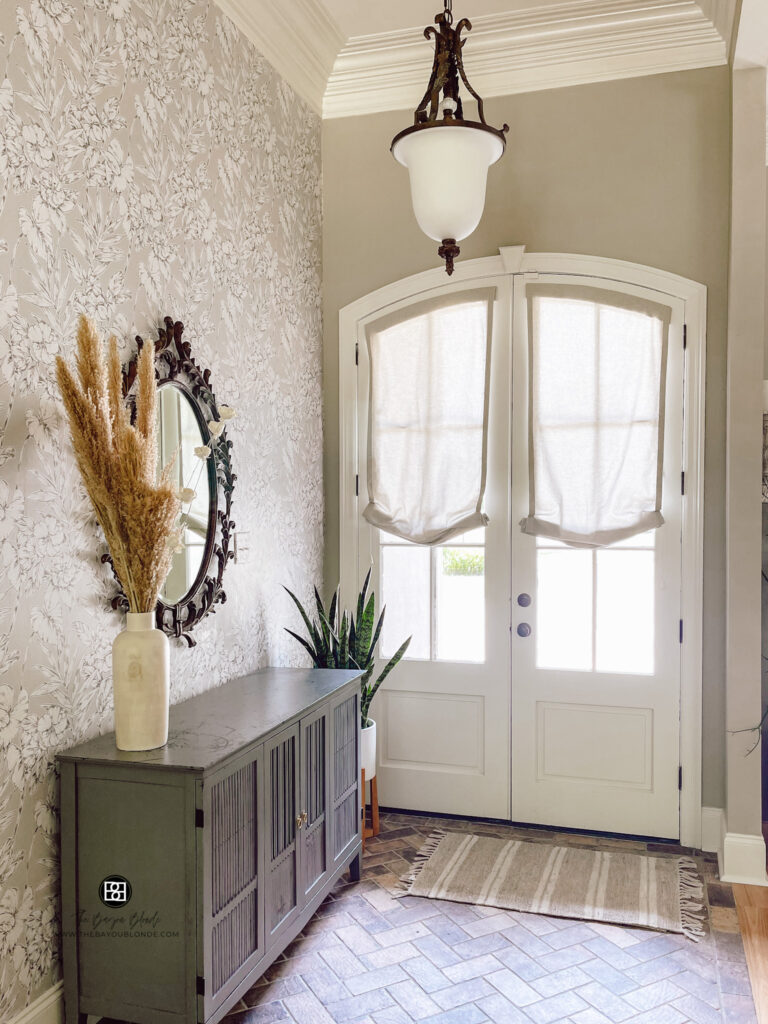
With kids home for summer, I’m not as efficient as I usually am! This post is almost a week late, but I made progress: hanging the mirror, covering the light switch and outlet plates with wallpaper, and adding a gorgeous snake plant.
First up, hanging the mirror. My stress level was high drilling into this wallpaper!
Determining the placement of the mirror was a little tricky. I wanted to center it with the light fixture, but the width of the wall is different than the ceiling (thanks to my open floor plan and concealed beams). Also the light switch is located too far to the middle of the wall. I chose to make a template of the mirror on kraft paper to play around with the placement.
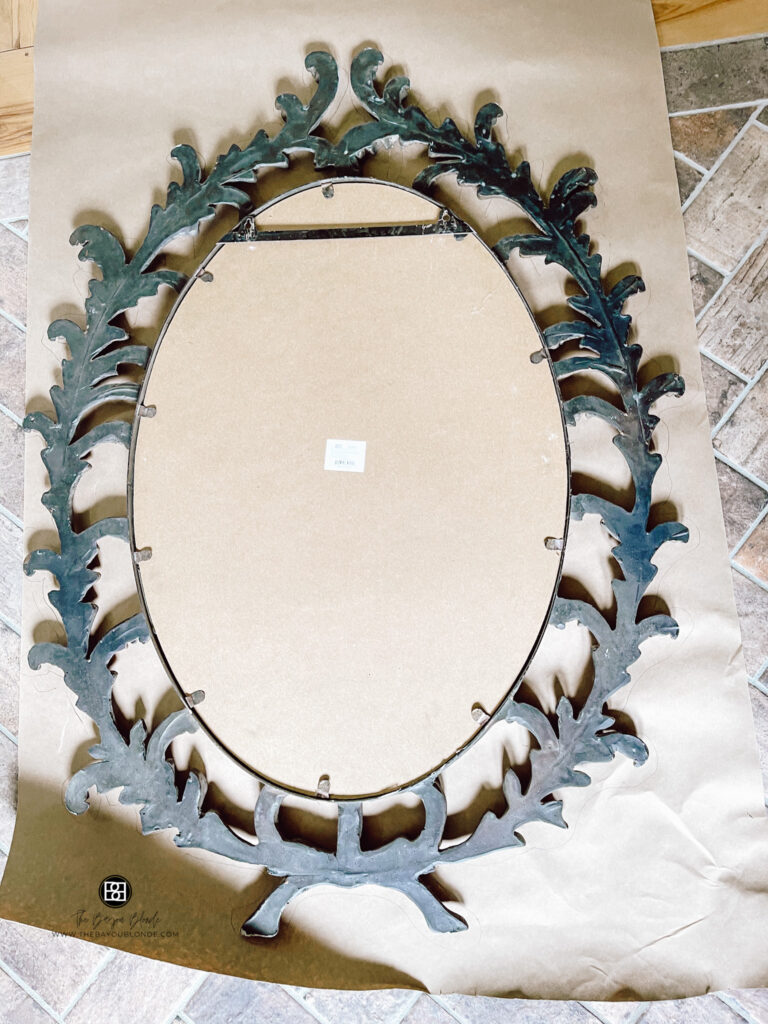
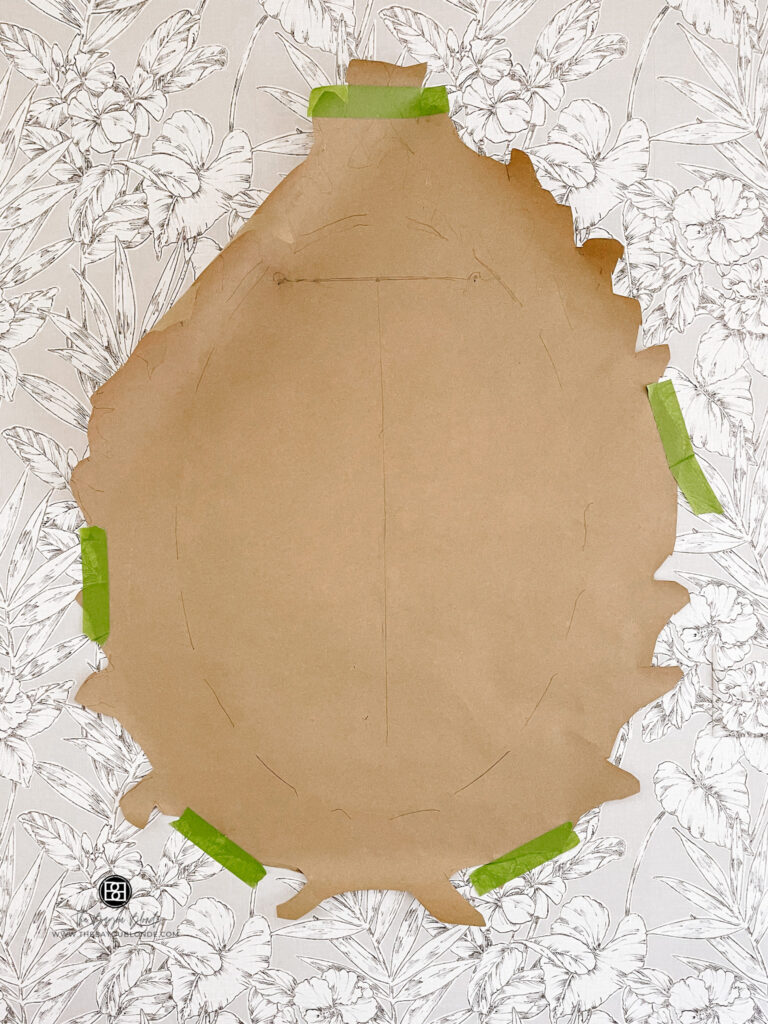
I roughly cut out the template, and then marked where the hangers were located. I used these holes to mark where I needed to drill and to help me level the mirror.

After experimenting with the placement, I decided to get as close to center as possible, taking into account the uneven frame.
I also changed light switch and outlet to white from ivory and wallpapered them to conceal them. Since it’s not ideal to have the light switch so far out into the center of the wall, wallpapering it definitely helped make it less noticeable.
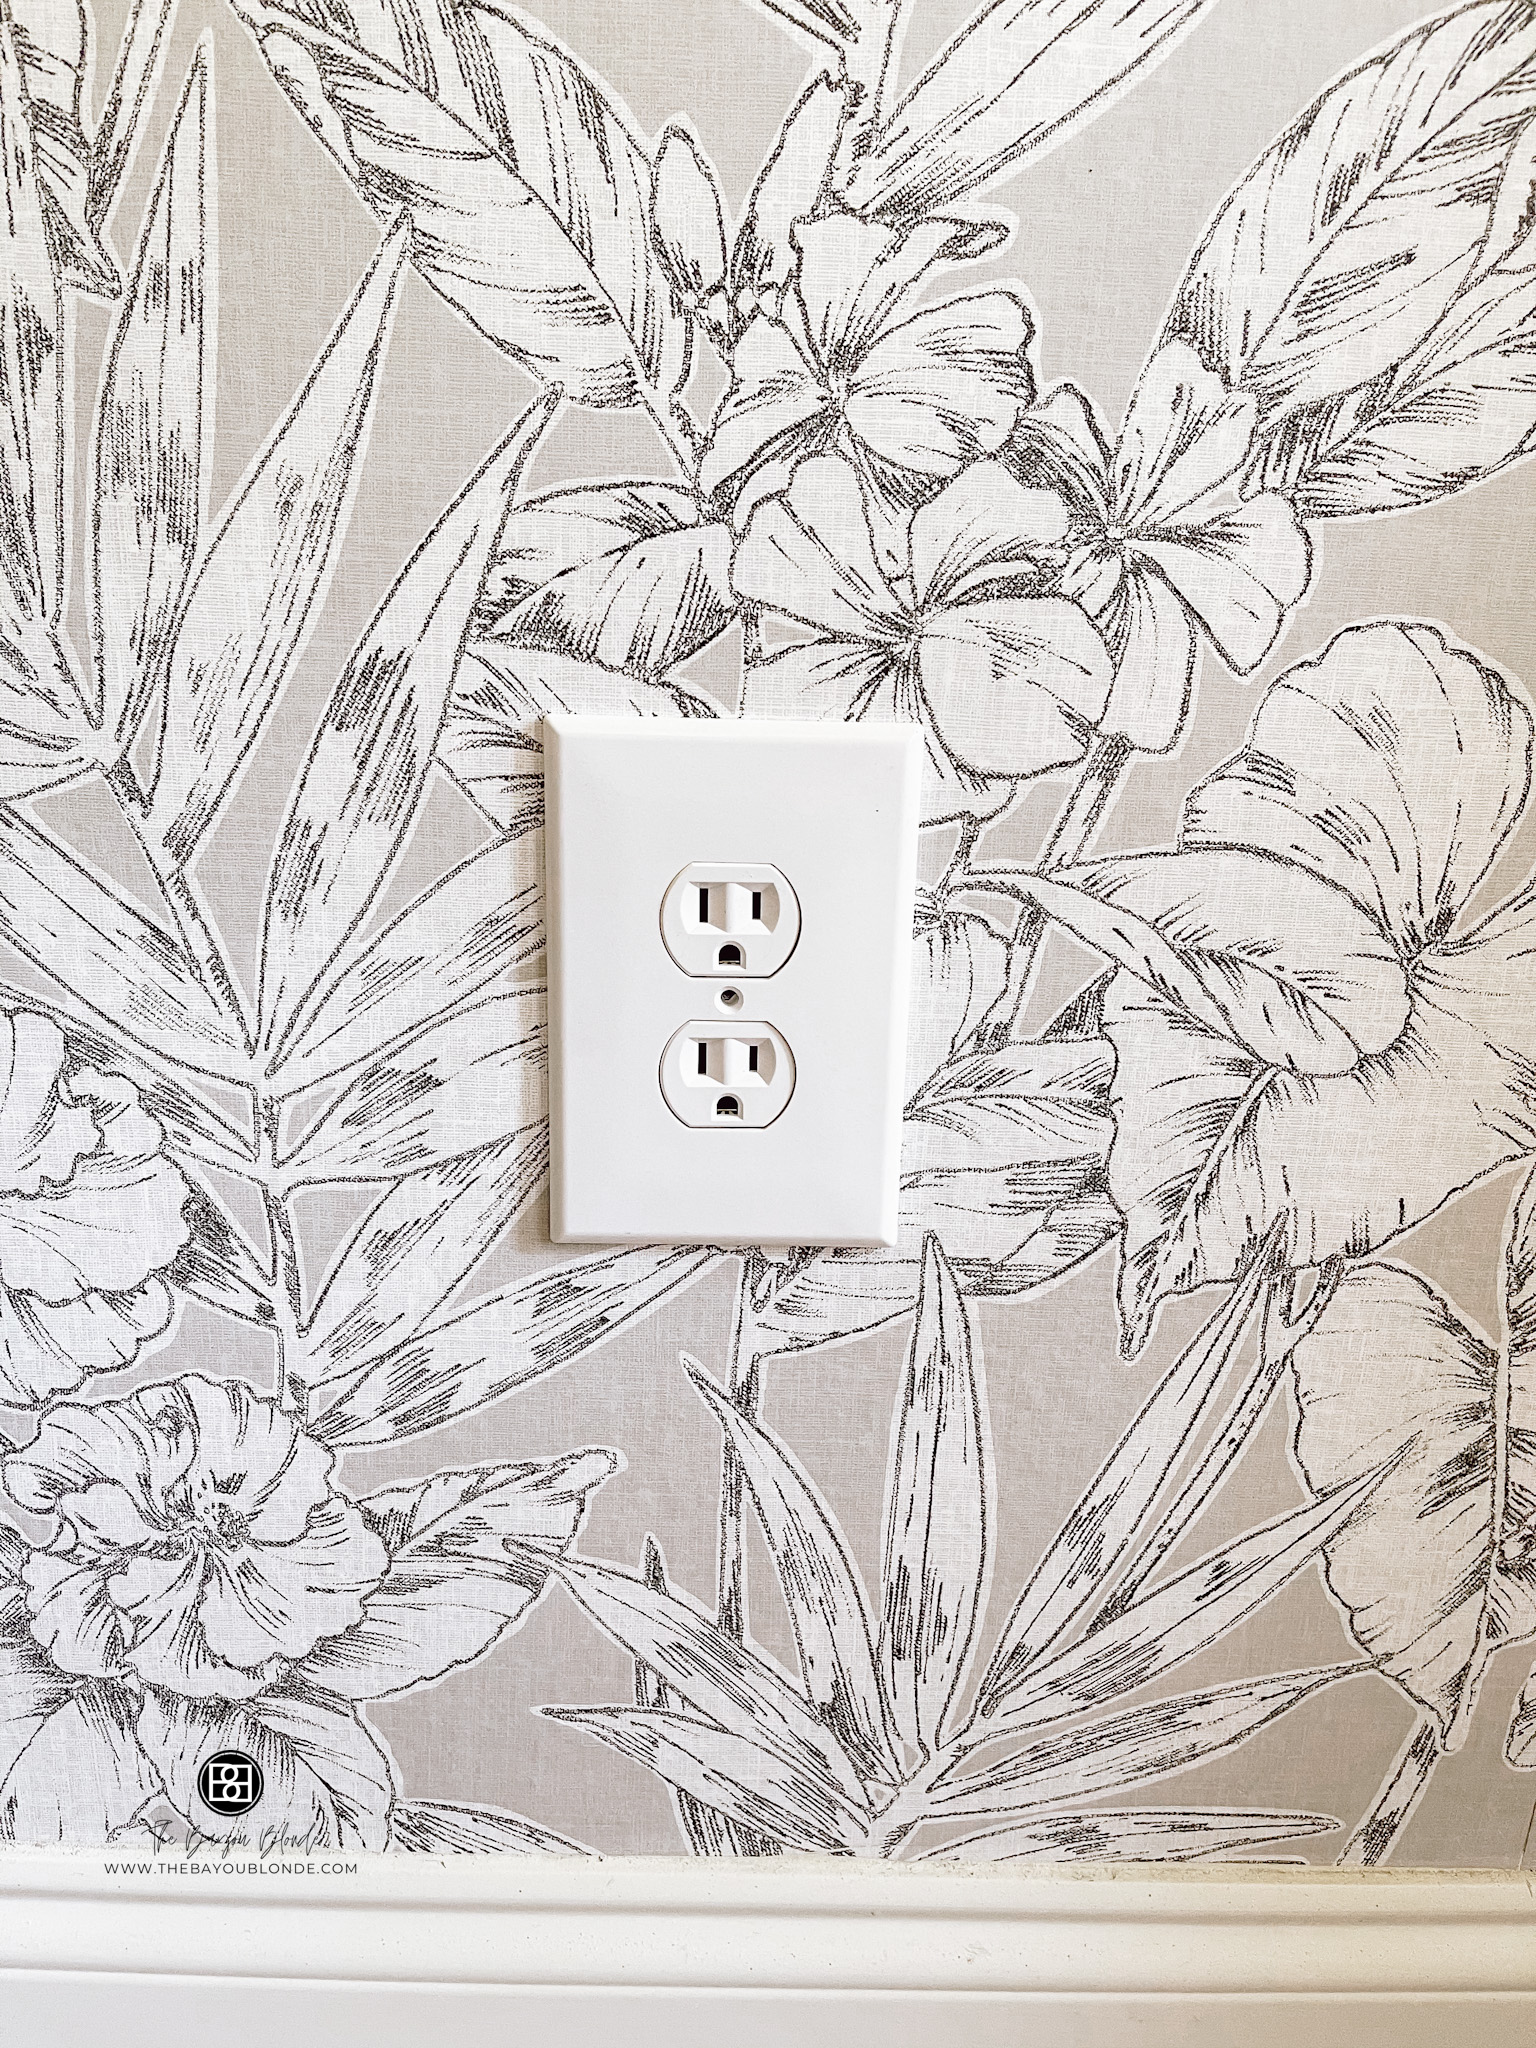
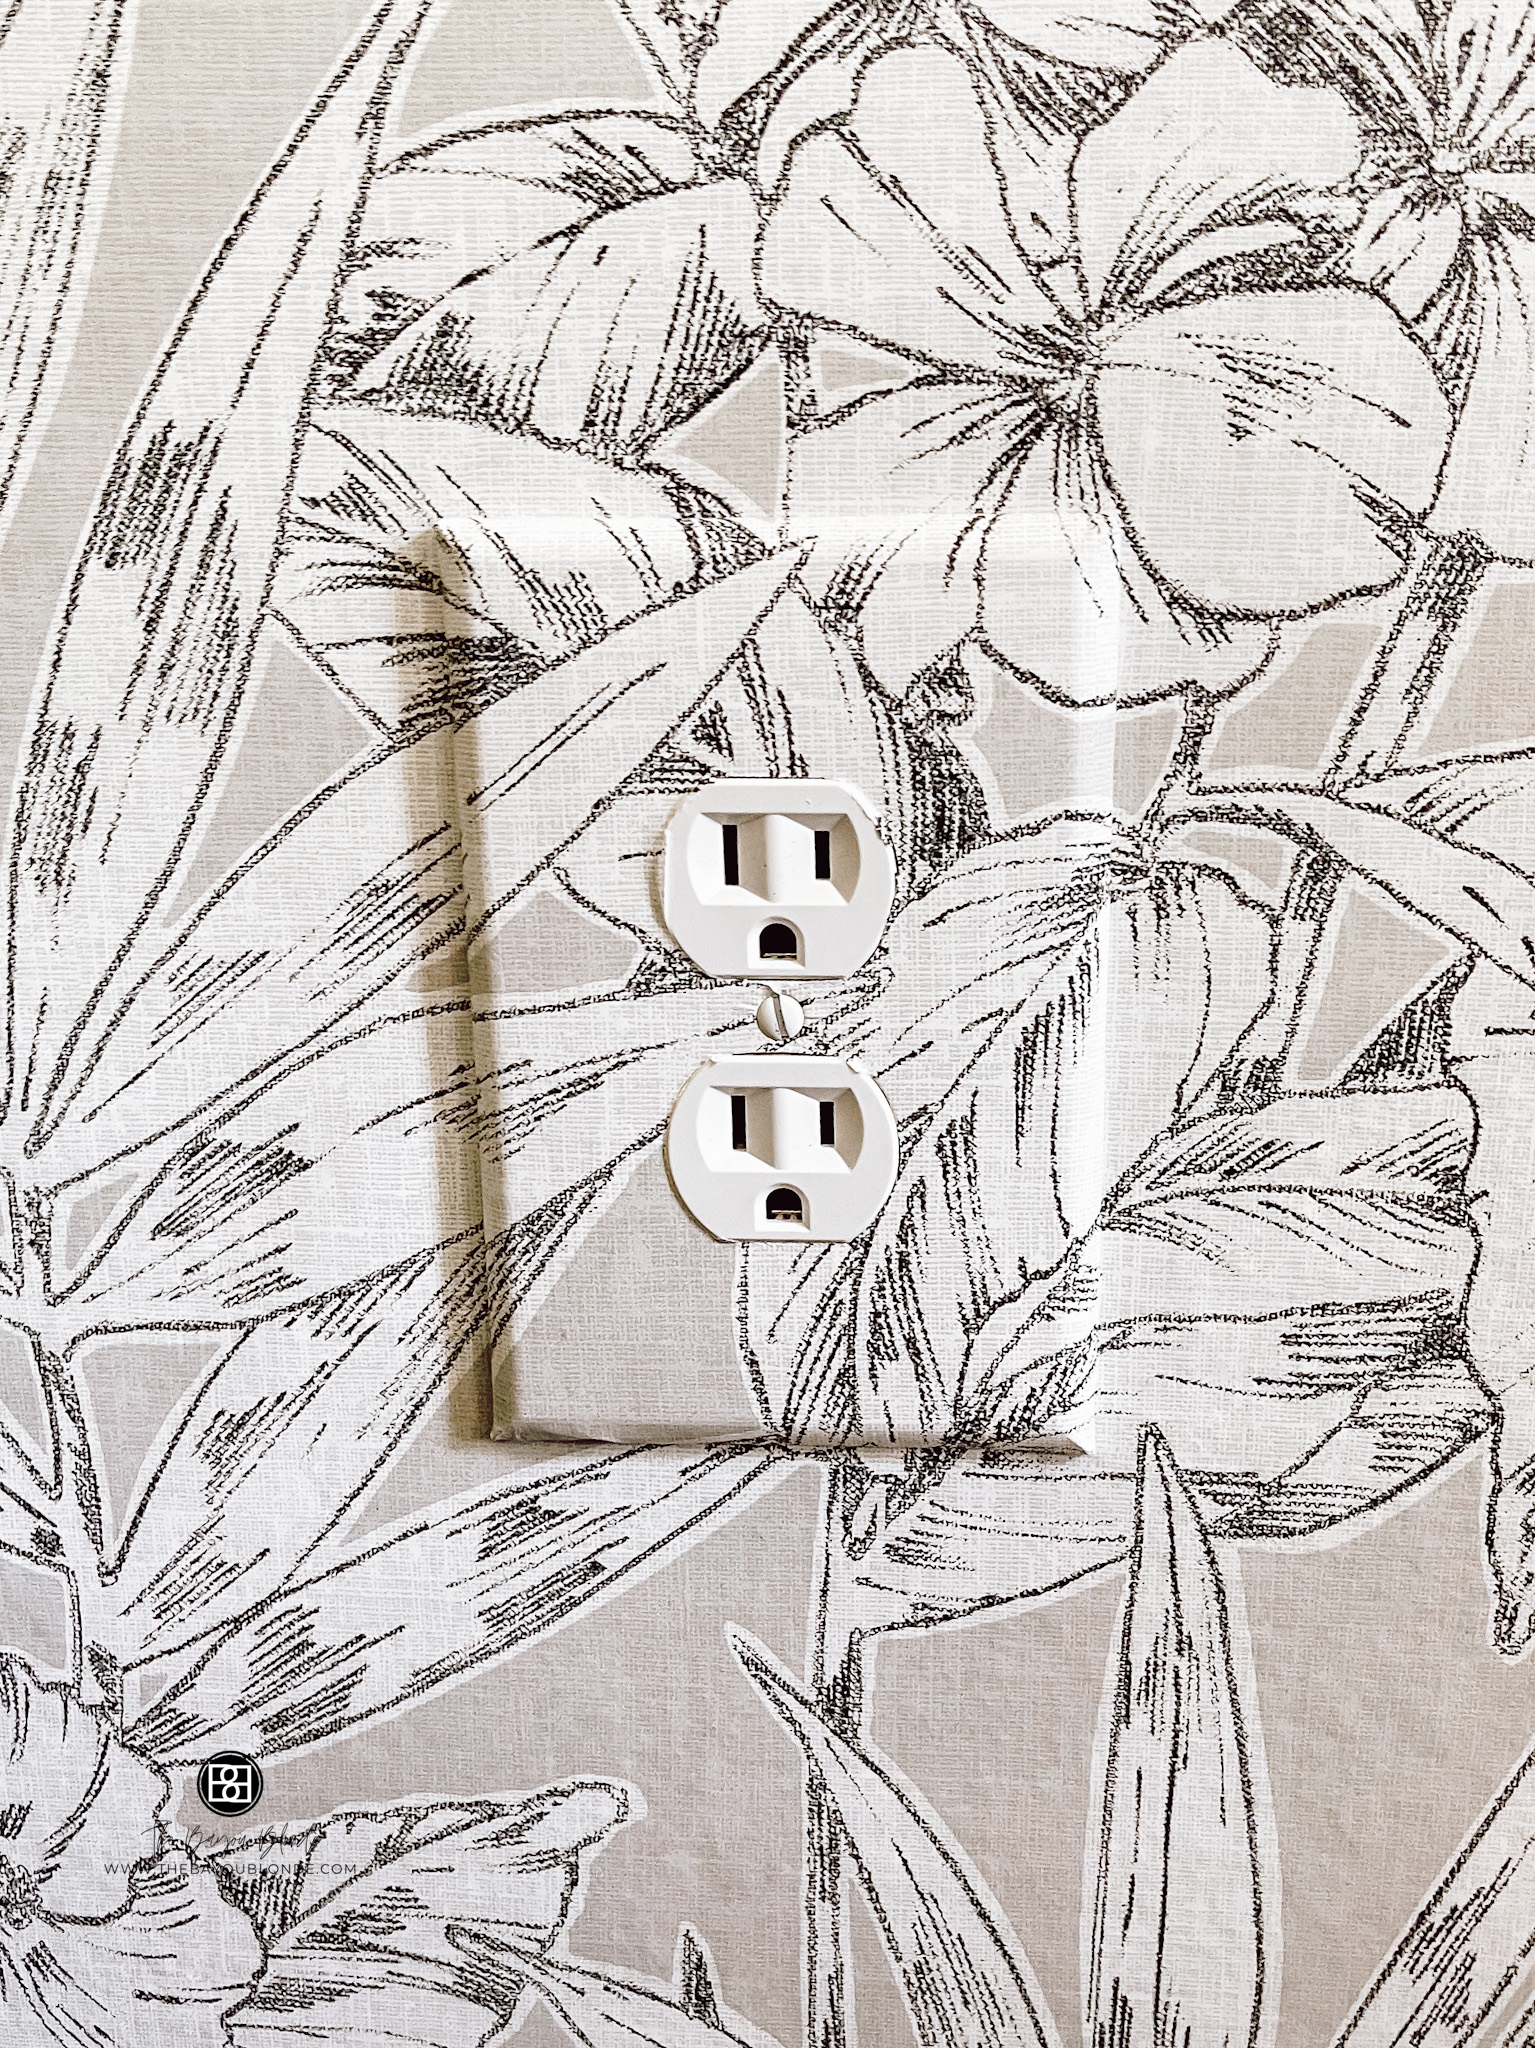
I created a video to show the process of how to wallpaper a light switch cover. It was fairly simple, and I used my leftover spray adhesive from the stencil project.
Click here to watch the how-to video.
I’m in the process of changing out the lights and outlets in the entire house from ivory to white. It’s one of my least favorite things to do, but it really makes a difference in the house. The easiest method is to just copy what is there. I usually take a picture before I remove anything, just in case I accidentally get a wire wrong. Also, make sure you buy the right kind of switch. Depending on the number of switches per light, you may need a different type of light switch.
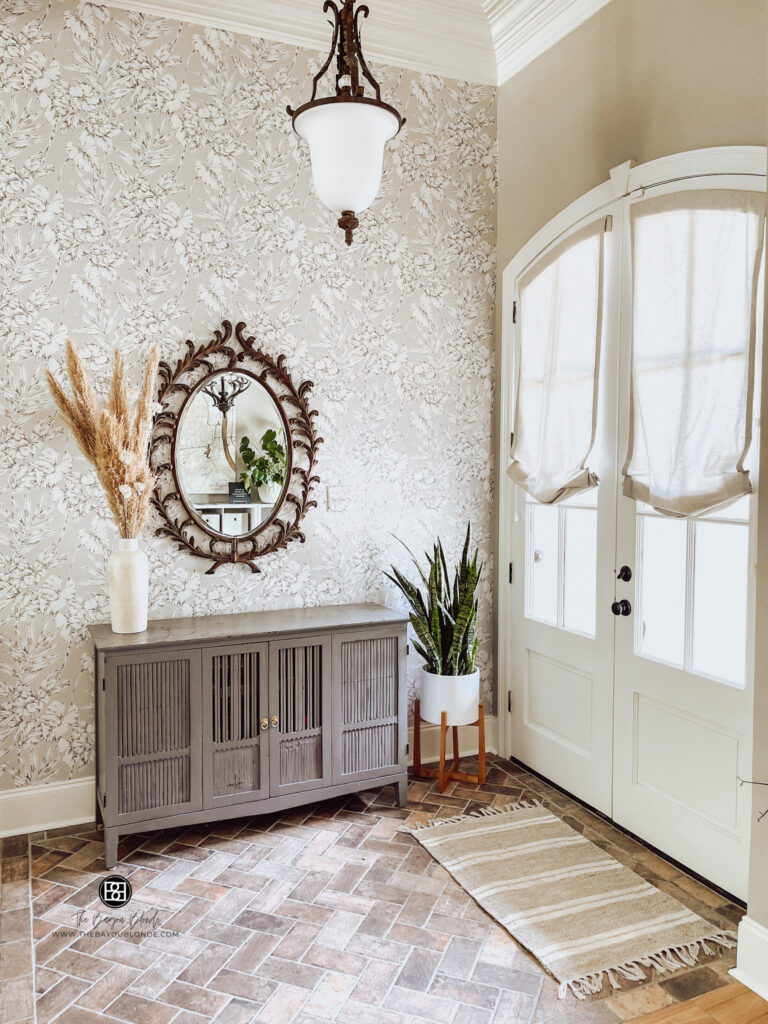
To add some green, I moved my snake plant into the space. I needed something tall, and the scale of the plant worked really well in this room. The lighting is great for this plant, and I think it will do well. The white and warm wood tones of the planter balance all the grays. Don’t you just love the dark green color of the leaves? It’s so rich against the gray walls.
Finally, I have decided to redo the buffet dark. This is my inspiration pic. Unfortunately, this gorgeous piece from Anthropologie is out of my budget, even on sale. The finish is actually an indigo. I don’t want to use blues, but I do plan to copy the dark glazing technique.

That’s all for this week! The next step in this project is to refinish the buffet and make a decision about the doors. I don’t know if I want to go dark. I’m leaning toward a medium gray tone that is slightly darker than the walls but in the same tones. I’m sure my post will be late, but I’m hoping for Friday.
If you’d like to follow along with all of the One Room Challenge participants, click on the logo below.


I’ll be back next week to give more updates. Thanks for stopping by my today. Let’s stay in touch! Subscribe below to receive posts by email or follow me on Instagram or Facebook.

Thank you for sharing!